[내멋대로 만드는 Kimstagram] 9. 팔로우 기능 구현하기
이제 대망의 팔로우 기능을 구현해보자...
사실 이걸 어떻게 구현해야 하나 로직을 꽤 고민했다. 여차하면 맞팔로우까지 필요할 수도 있으니까...
결국 내가 생각한 방법은 Follow라는 클래스를 하나 만들어서 테이블을 만들고, 팔로우하는 Account와 팔로우 당하는 Account를 저장하는 방법이었다.
일단 글은 이렇게 써놓긴 했는데... 구현을 시작해보자.
일단 Follow 클래스를 하나 만들었다.
package com.kimdev.kimstagram.model;

import lombok.AllArgsConstructor;
import lombok.Builder;
import lombok.Data;
import lombok.NoArgsConstructor;
import org.hibernate.annotations.CreationTimestamp;

import javax.persistence.*;
import java.sql.Timestamp;

@Builder
@NoArgsConstructor
@AllArgsConstructor
@Data
@Entity
public class Follow {

    @Id
    @GeneratedValue(strategy = GenerationType.IDENTITY)
    public int id;

    @ManyToOne
    @JoinColumn(name="fromaccount")
    public Account fromaccount;

    @ManyToOne
    @JoinColumn(name="toaccount")
    public Account toaccount;

    @CreationTimestamp
    private Timestamp createDate;
}
그리고 팔로우 버튼을 누르면 아래의 함수가 실행되어, ajax로 서버에 POST 요청을 보낸다.
function onclickFollow(toaccountId) {
    let data = {
        fromaccountId: principal.id,
        toaccountId: toaccountId
    }

    $.ajax({
        type: "POST",
        url: "/follow",
        data: JSON.stringify(data),
        contentType: "application/json; charset=utf-8",
        dataType: "json"
    }).done(function (resp){

        var followOrUnfollowDiv = document.getElementById('followOrUnfollow' + toaccountId);
        followOrUnfollowDiv.removeChild(document.getElementById('index_account_followButton' + toaccountId));

        var divElement = document.createElement('div');
        divElement.id = 'index_account_unFollowButton' + toaccountId;
        divElement.textContent = '팔로잉';
        divElement.className = 'index_account_unFollowButton';
        divElement.onclick = function() {
            unfollowPopup(toaccountId);
        };

        var followOrUnfollowDiv = document.getElementById('followOrUnfollow' + toaccountId);
        followOrUnfollowDiv.appendChild(divElement);

    }).fail(function(error){
        alert(JSON.stringify(error));
    });
}
그럼 이제 팔로우 버튼을 누르면 ajax POST 요청을 보내서 Follow 객체를 DB에 등록한다.
@Transactional
public int follow(followDTO followdto) {
    Account fromAccount = accountRepository.findById(followdto.getFromaccountId()).get();
    Account toAccount = accountRepository.findById(followdto.getToaccountId()).get();

    Follow follow = new Follow();
    follow.setFromaccount(fromAccount);
    follow.setToaccount(toAccount);

    followRepository.save(follow);

    fromAccount.setFollowing(fromAccount.getFollowing() + 1);
    toAccount.setFollower(toAccount.getFollower() + 1);

    return 0;
}
그럼 반대로 언팔로우는 ? ajax DELETE 요청을 보내서 DB에서 Follow 객체를 삭제하면 되겠지?
function onclickUnfollow(toaccountId) {
    let data = {
        fromaccountId: principal.id,
        toaccountId: toaccountId
    }

    $.ajax({
        type: "DELETE",
        url: "/unfollow",
        data: JSON.stringify(data),
        contentType: "application/json; charset=utf-8",
        dataType: "json"
    }).done(function (resp){

        var followOrUnfollowDiv = document.getElementById('followOrUnfollow' + toaccountId);
        followOrUnfollowDiv.removeChild(document.getElementById('index_account_unFollowButton' + toaccountId));

        var divElement = document.createElement('div');
        divElement.id = 'index_account_followButton' + toaccountId;
        divElement.textContent = '팔로우';
        divElement.className = 'index_account_followButton';
        divElement.onclick = function() {
            onclickFollow(toaccountId);
        };

        var followOrUnfollowDiv = document.getElementById('followOrUnfollow' + toaccountId);
        followOrUnfollowDiv.appendChild(divElement);

        document.getElementById('unfollowPopupBackground').style.display = 'none';

    }).fail(function(error){
        alert(JSON.stringify(error));
    });
}
@Transactional
public int unfollow(followDTO followdto) {
Account fromAccount = accountRepository.findById(followdto.getFromaccountId()).get();
Account toAccount = accountRepository.findById(followdto.getToaccountId()).get();
followRepository.deleteByToaccountAndFromaccount(toAccount, fromAccount);
fromAccount.setFollowing(fromAccount.getFollowing() - 1);
toAccount.setFollower(toAccount.getFollower() - 1);
return 0;
}
이렇게 하면 팔로우, 언팔로우의 기능 구현 자체는 끝난다.
DB에 insert하거나 delete하면 끝이라...
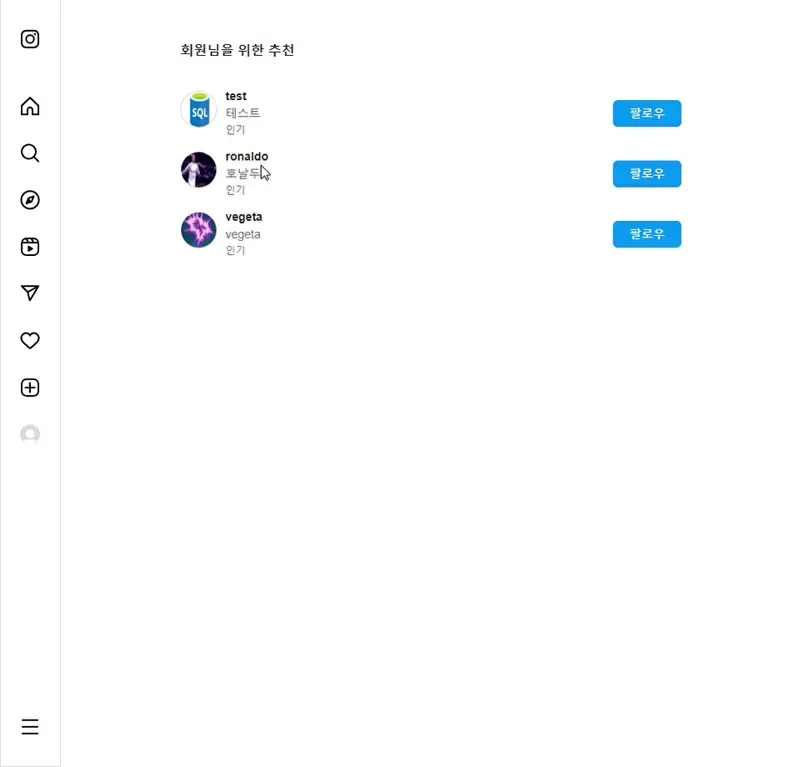
사실 가장 시간을 많이 썼던 건 기능 구현이 아니라 jsp에서 팔로우/언팔로우 정보를 가져와서 거기에 알맞은 div를 띄우는 것이었다.
뭐... 프론트엔드 공부하는 게 아니라 따로 코드는 안 올리겠으나, 대략 해당 유저의 id를 담은 ajax GET 요청을 보내서 principal의 팔로우 정보를 가져오는 방식으로 만들었다.
@GetMapping("/getFollowInfo")
public int getFollowInfo(@RequestParam("fromaccountId") int fromaccountId, @RequestParam("toaccountId") int toaccountId) {
    int result = homeService.getFollowInfo(fromaccountId, toaccountId);

    return result;
}
@Transactional(readOnly = true)
public int getFollowInfo(int fromaccountId, int toaccountId) {
if (fromaccountId == toaccountId) {
return -1;
}
Account fromAccount = accountRepository.findById(fromaccountId).get();
Account toAccount = accountRepository.findById(toaccountId).get();
Follow follow = followRepository.findByToaccountAndFromaccount(toAccount, fromAccount);
int result;
result = follow != null ? 1 : 0;
return result;
}이런 느낌? 1이면 팔로우가 된 상태이고, 0이면 팔로우가 되지 않은 상태인 것!
적절히 jsp를 수정해주면 완료된다.
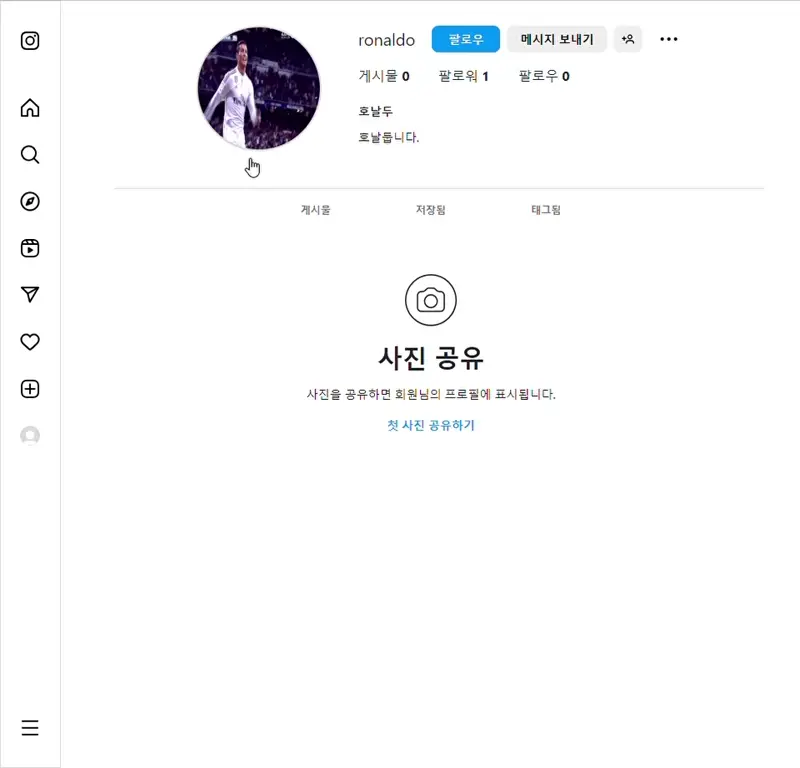
그 외에도 유저의 프로필 화면에서도 팔로우 버튼이 있는데, 거기에서도 적절히 jsp와 js를 수정해주면 된다.